
One final note: if you are lazy (like me) or not a big fan of using dolly-sized buttons (let's face it: who likes jamming a tiny little button into a tiny little hole?) you are welcome to use another closure, like a hook and eyelet (metal, not "velcro") and sew on faux buttons if you want to.
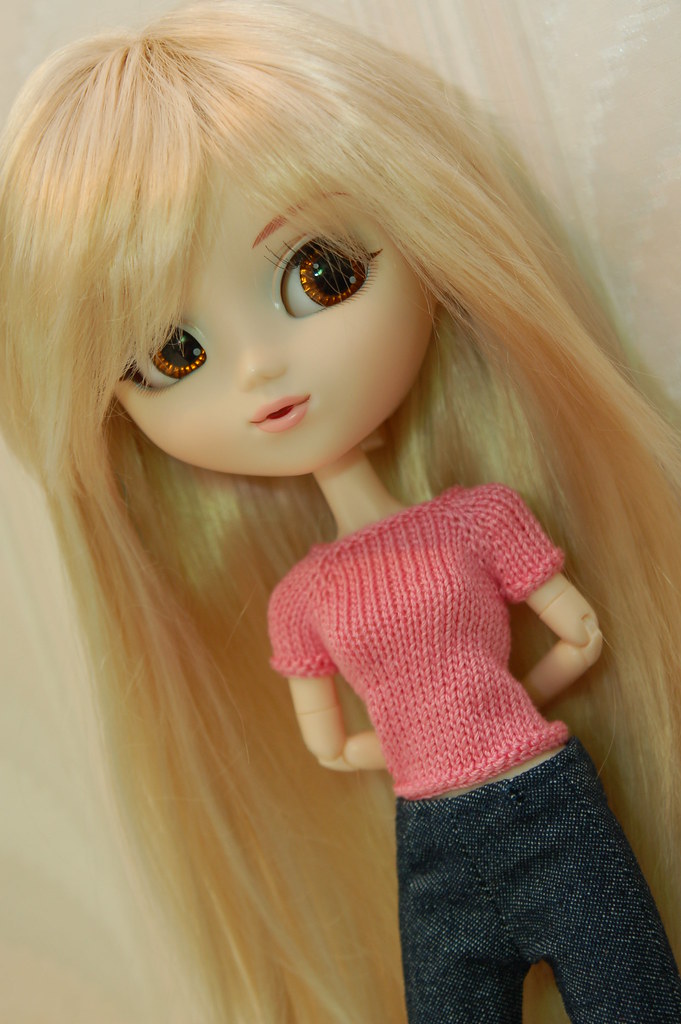
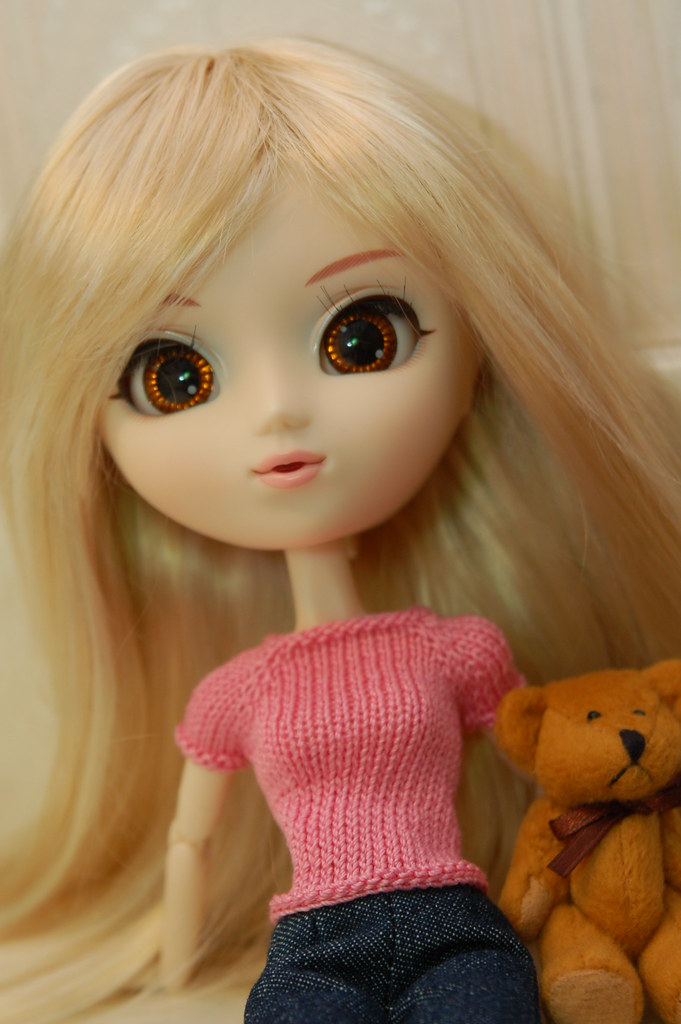
February Pullip Sweater
Based on the February Lady sweater, available human-sized at Flint Knits.
 |
| Lillian plays the part of "innocent schoolgirl" pretty convincingly. |
Materials:
- Size 1-US needles (one circular, two DPNs with point protectors, whatever works for you)
- One ball (you will need far less than a full ball) of size 10 crochet cotton
- Used for example: Aunt Lydia’s Classic Crochet Cotton (100% mercerized cotton, 350 yd/ball) in 484 Myrtle Green
- Three very small buttons
- Scissors & darning needle
You will need to know:
- How to knit and purl
- How to decrease: k2tog and ssk
- How to yo
- Basic familiarity with lace patterns: combining k2tog, ssk, and yo in the same rows (Note: working lace patterns, for me at least, requires an additional level of focus and concentration. Try to work your lace patterns where you would be less distracted than usual, such as while your dear boyfriend watches a particularly boring game of golf on TV)
- Garter stitch (knit every row)
- The m1 increase
Note:
You will need to have a separate ball of yarn for working the sleeves and body, or two ends from the same ball. Since I usually work from a ball of crochet thread, where only one end is available, I wind about 30 yards of thread onto a bobbin (the small Susan Bates kind, in my favorite color – purple) to hold aside for the sleeves. Cut a separate length of yarn, begin the sweater, and you won’t have to break the yarn to work the sleeves and then rejoin it to work the body.
Gull lace pattern (see above site for source):
Row 1: (K1, k2tog, yo, k1, yo, ssk, k1) across row.
Rows 2 & 4: p all sts.
Row 3: (k2tog, yo, k3, yo, ssk) across row.
Sweater:
CO 24 sts. K 3 rows.
Work increases according to the following chart. The chart works like this, for row 1:
K4, (m1, k1, m1), k3, (m1, k1, m1), k6, (m1, k1, m1), k3, (m1, k1, m1), k4. The number in the first row is the starting stitch count (not the number of stitches you will end up with). Always k one row after working an increase row.
| 24 | 4 | 3 | 6 | 3 | 4 | BH |
| 32 | 5 | 5 | 8 | 5 | 5 | |
| 40 | 6 | 7 | 10 | 7 | 6 | |
| 48 | 7 | 9 | 12 | 9 | 7 | BH |
| 56 | 8 | 11 | 14 | 11 | 8 | |
| 64 | 9 | 13 | 16 | 13 | 9 |
For rows ending with the letters BH:
After working the increase row, work a buttonhole row on the WS. K2, yo, k2tog, k to end.
After you get to 72 sts total, end after one more row (WS).
Next row: place 11 sts on holder, place 15 sts on spare DPN, place 20 sts on holder, place 15 sts on spare DPN, place 11 sts on holder.
Sleeves:
K2 rows. Only the last 14 sts are worked in pattern, so knit (or slip) every first stitch of every RS row and p every last st on every WS row.
Begin gull lace pattern. Work until the sleeves are nearly desired length (for me, this was just past elbows, and four repeats of the four-row pattern). Work 3 rows of garter st: k next RS row and two more rows, and BO, leaving at least a 12-inch tail to sew seams.
Resume body of sweater:
K all sts onto one needle. Do NOT work two stitches together under each underarm. If you are concerned about gaps under the arms, you may close any hole when seaming the sleeves, or you may pull one stitch through the other and work them in the wrong order (k one st on the other side of the gap, k st before gap). Work buttonhole row next for these sts.
Work these sts in gull lace pattern as well, until the body is almost at the desired length. K 3 rows in garter st again. BO all sts.
Sew sleeve seams using tails of yarn left from binding off. Weave in all ends. Attach buttons opposite buttonholes. Block.


